Introduction
Before we begin, there are a few things you should be comfortable with, the primary thing will be knowing what an API is and previous experience with content management systems will be helpful.
What is a headless content management system? From a user's perspective they don’t function much differently, they are still places to organise your content for your website or application. However, instead of a traditional front end, it exposes the content in the form of an API, this could be REST, GraphQL or sometimes both.
Getting started
Payload CMS, compared to other CMS’s they are relatively new on the scene. They offer a lot of features out of the box; REST & GraphQL API’s, Localization & User access controls alongside your regular content creation tools. I will be mostly looking at the basics for this tutorial, but if you would like me to write about other parts let me know. Payload is open source and is currently built on top of Express (a commonly used web server framework for NodeJS).
Let’s get started, make sure you have NodeJS & PostgreSQL installed on your machine. If you don’t you can install NodeJS here, and if you’re on a mac I found this application useful for managing Postgres locally without having to use something like docker.
Open your terminal and run
npx create-payload-app@latest
This will run their CLI where you can name your project, choose a template, select the type of database you want & the database url for the database you have chosen. For this tutorial I have chosen a blank template and selected Postgres. If you haven't already create a database and name it what ever you like, I just named mine "payload". For the database string you will need it to be slightly different, especially if you are using the app I suggested earlier, it should look something like this:
postgres://postgres:postgres@127.0.0.1:5432/payload
Some more info about the database URL is you’re not familiar
where “payload” is the name of the database you want to connect to (this doesn’t have to be named payload). The “postgres:postgres” part is your username as password for your database. “127.0.0.1:5432” is your local machine address (“127.0.0.1” is the same as “localhost”), :5432 is the port for where Postgres is running.
Once you have done this, move into the directory and you should be able to run
npm run dev
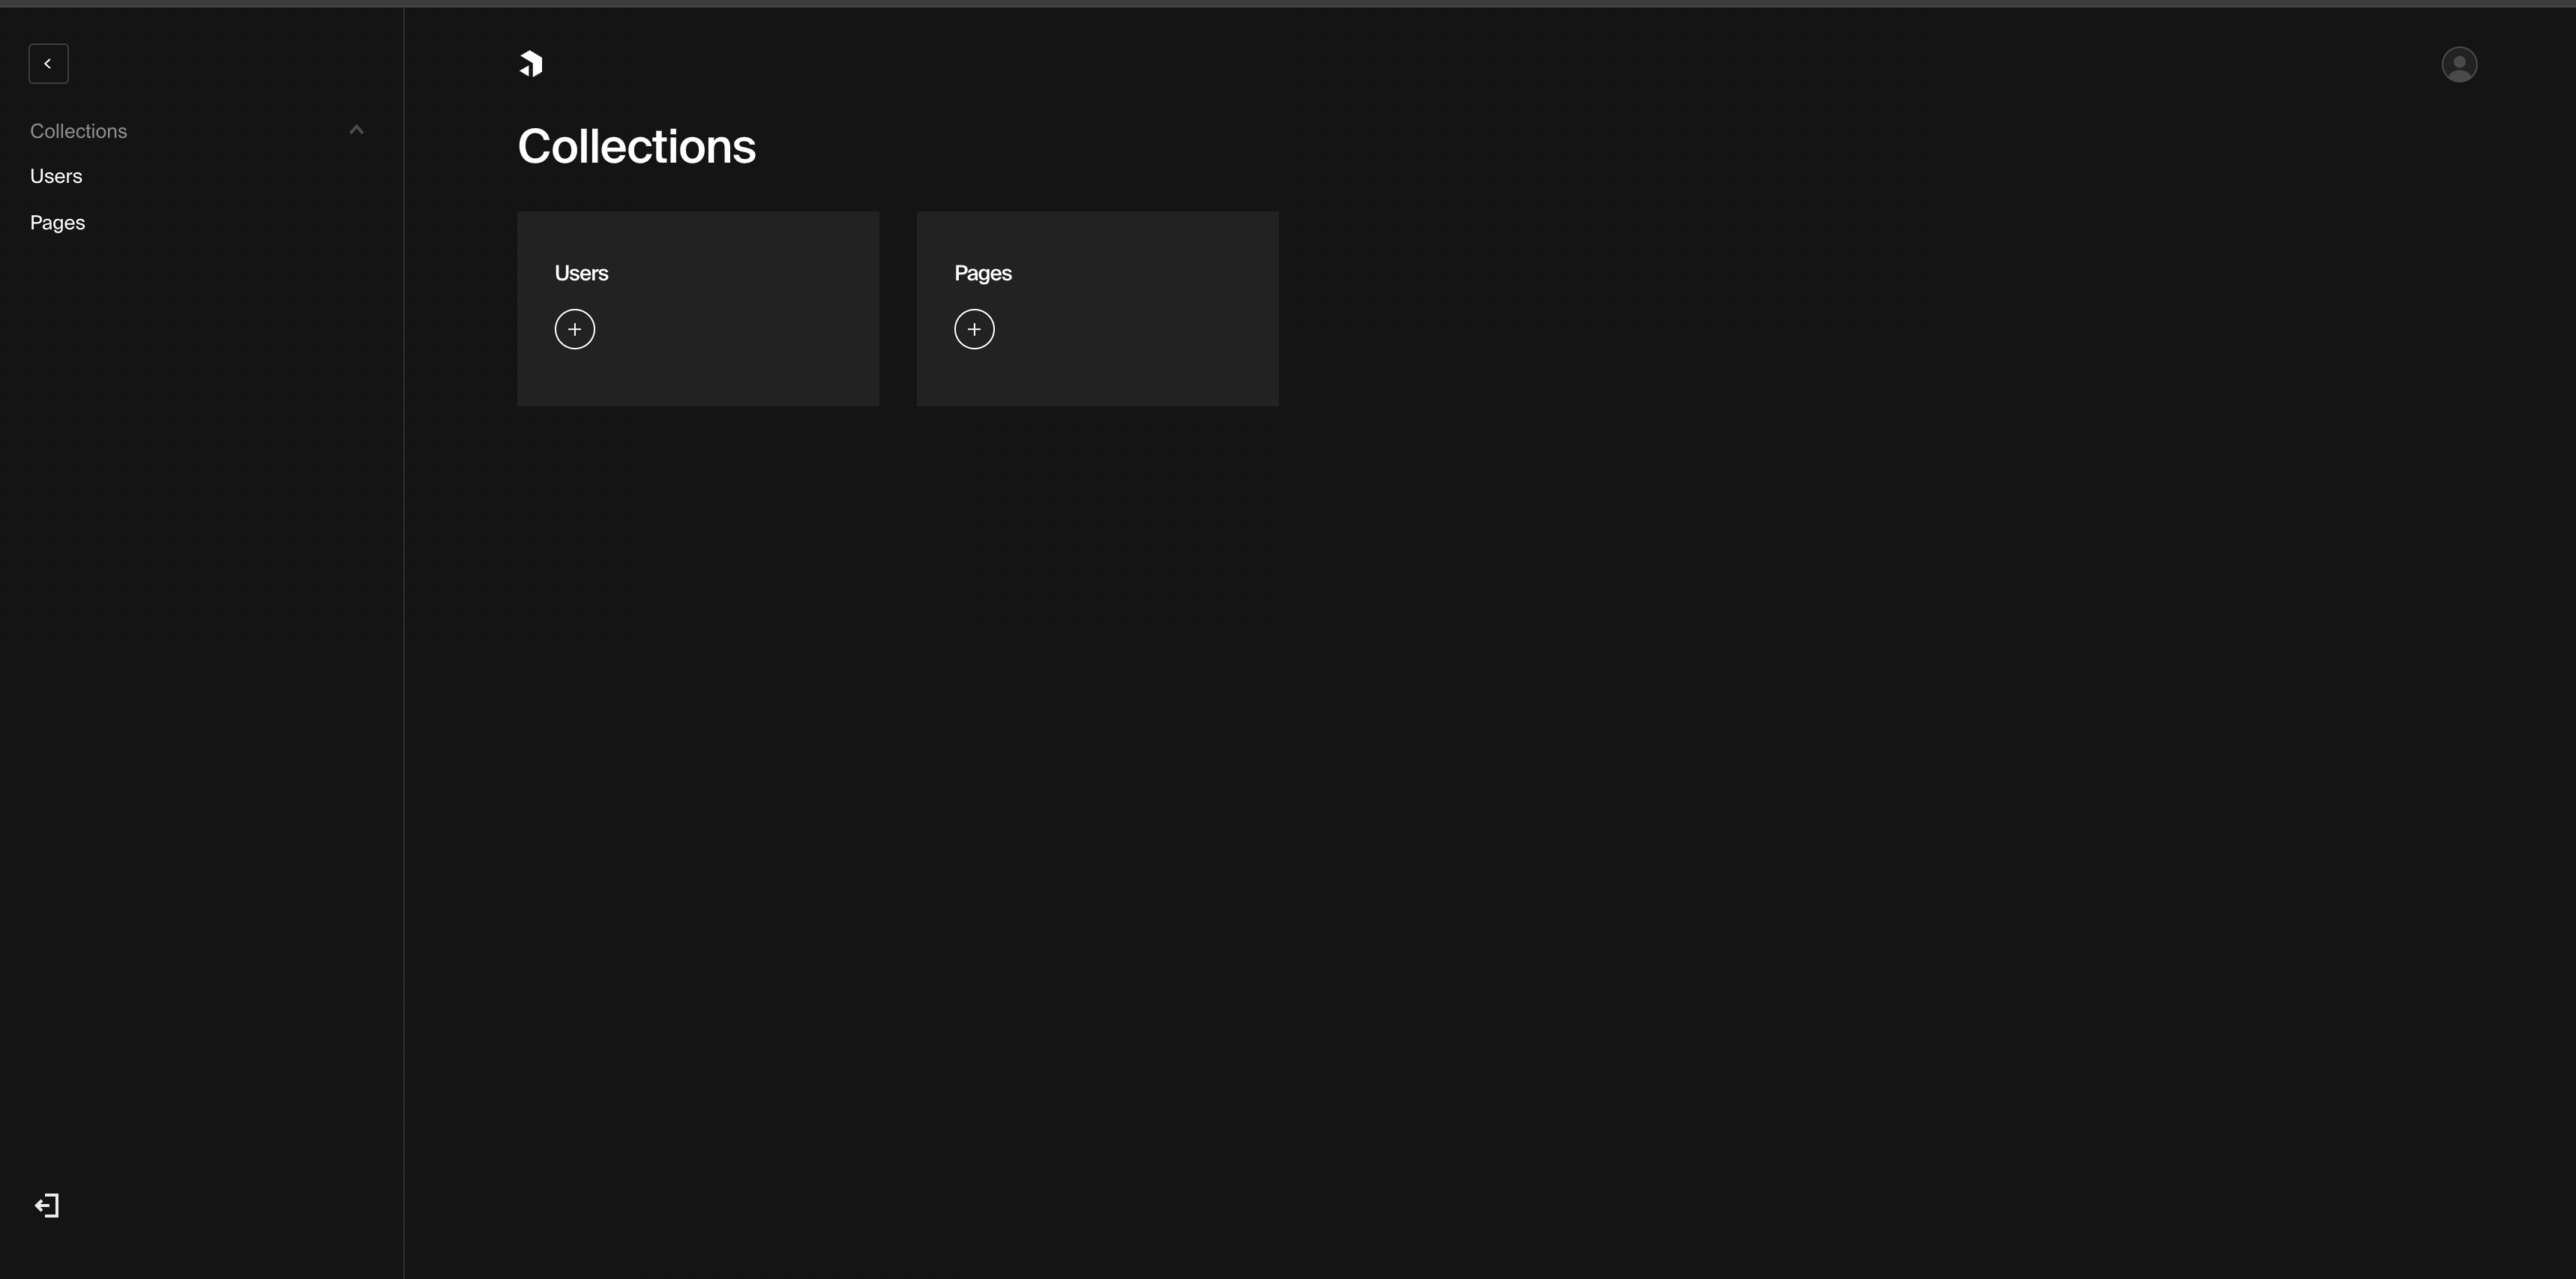
If you go to your browser and go to the url localhost:3000, you will be greeted with a screen to enter details for your admin user. Once you have done this you should be able to login and see a screen with collections on your left and a card representation of this in the middle of your screen. Right now we should only have users.
Your first collection
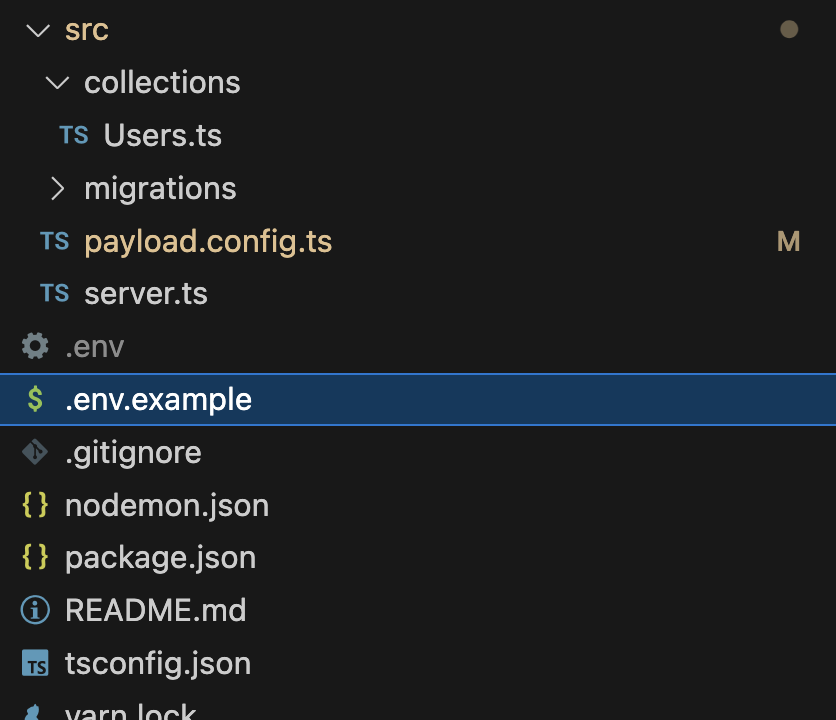
It’s time to dive into the code. So open your working directory in your editor. There are quite a few different files in this folder but we only want to focus on what is inside of the src directory. Inside of this directory we have a collections directory, a server.ts file as well as a payload.config.ts file. These are important but we don’t need to worry about them right now.
Collections in Payload are how we create content types. if you look at the Users.ts file will get an example of how the structure should look, the collections are justs imple javascript objects. The project uses Typescript so we can get inference thanks to the CollectionConfig type. So let's create our own, inside of the collections directory create a file called Pages.ts. We need to import the type of CollectionConfig from payload/types and then we can create a Page variable for our object and start to fill out the required fields (you can use ctrl+space in VS Code to see what can be used in the object). Alternatively you can visit Payload’s documentation for a full list of fields you can use. This is what mine looks like.
As you can see below I have 4 fields, one for the title that is type text, a slug that will represent the URL of the page, a summary that is a textarea and content which is a richText type. The difference between textarea and richText is that you get a tool bar to format your text. You will also see the "useAsTitle" key in the admin object, this takes what ever you type into your title field and makes that the title of the page you are creating.
import { CollectionConfig } from "payload/types";

const Pages: CollectionConfig = {
  slug: "pages",
  admin: {
    useAsTitle: "title",
  },
  fields: [
    {
      name: "title",
      type: "text",
      required: true,
    },
    {
      name: "slug",
      type: "text",
      required: true,
      unique: true,
    },
    {
      name: "summary",
      type: "textarea",
      required: true,
    },
    {
      name: "content",
      type: "richText",
    },
  ],
};

export default Pages;
You now need to register this collection by going to the payload.config.ts file and where you see the collections array, add Pages next to Users in the array. It should look something like this:
export default buildConfig({
  admin: {
    user: Users.slug,
    bundler: webpackBundler(),
  },
  editor: slateEditor({}),
  collections: [Users, Pages],
  typescript: {
    outputFile: path.resolve(__dirname, "payload-types.ts"),
  },
  graphQL: {
    schemaOutputFile: path.resolve(__dirname, "generated-schema.graphql"),
  },

  plugins: [payloadCloud()],
  db: postgresAdapter({
    pool: {
      connectionString: process.env.DATABASE_URI,
    },
  }),
});
Now if you still have your application running, if not start it up again by running npm run dev. You should now see a pages collection.
Now let’s go into that and create some content, this can be anything for now, but once you have saved this, you will see at the top right an API tab and if you visit that tab you will see an example endpoint along with the preview of how the data looks.
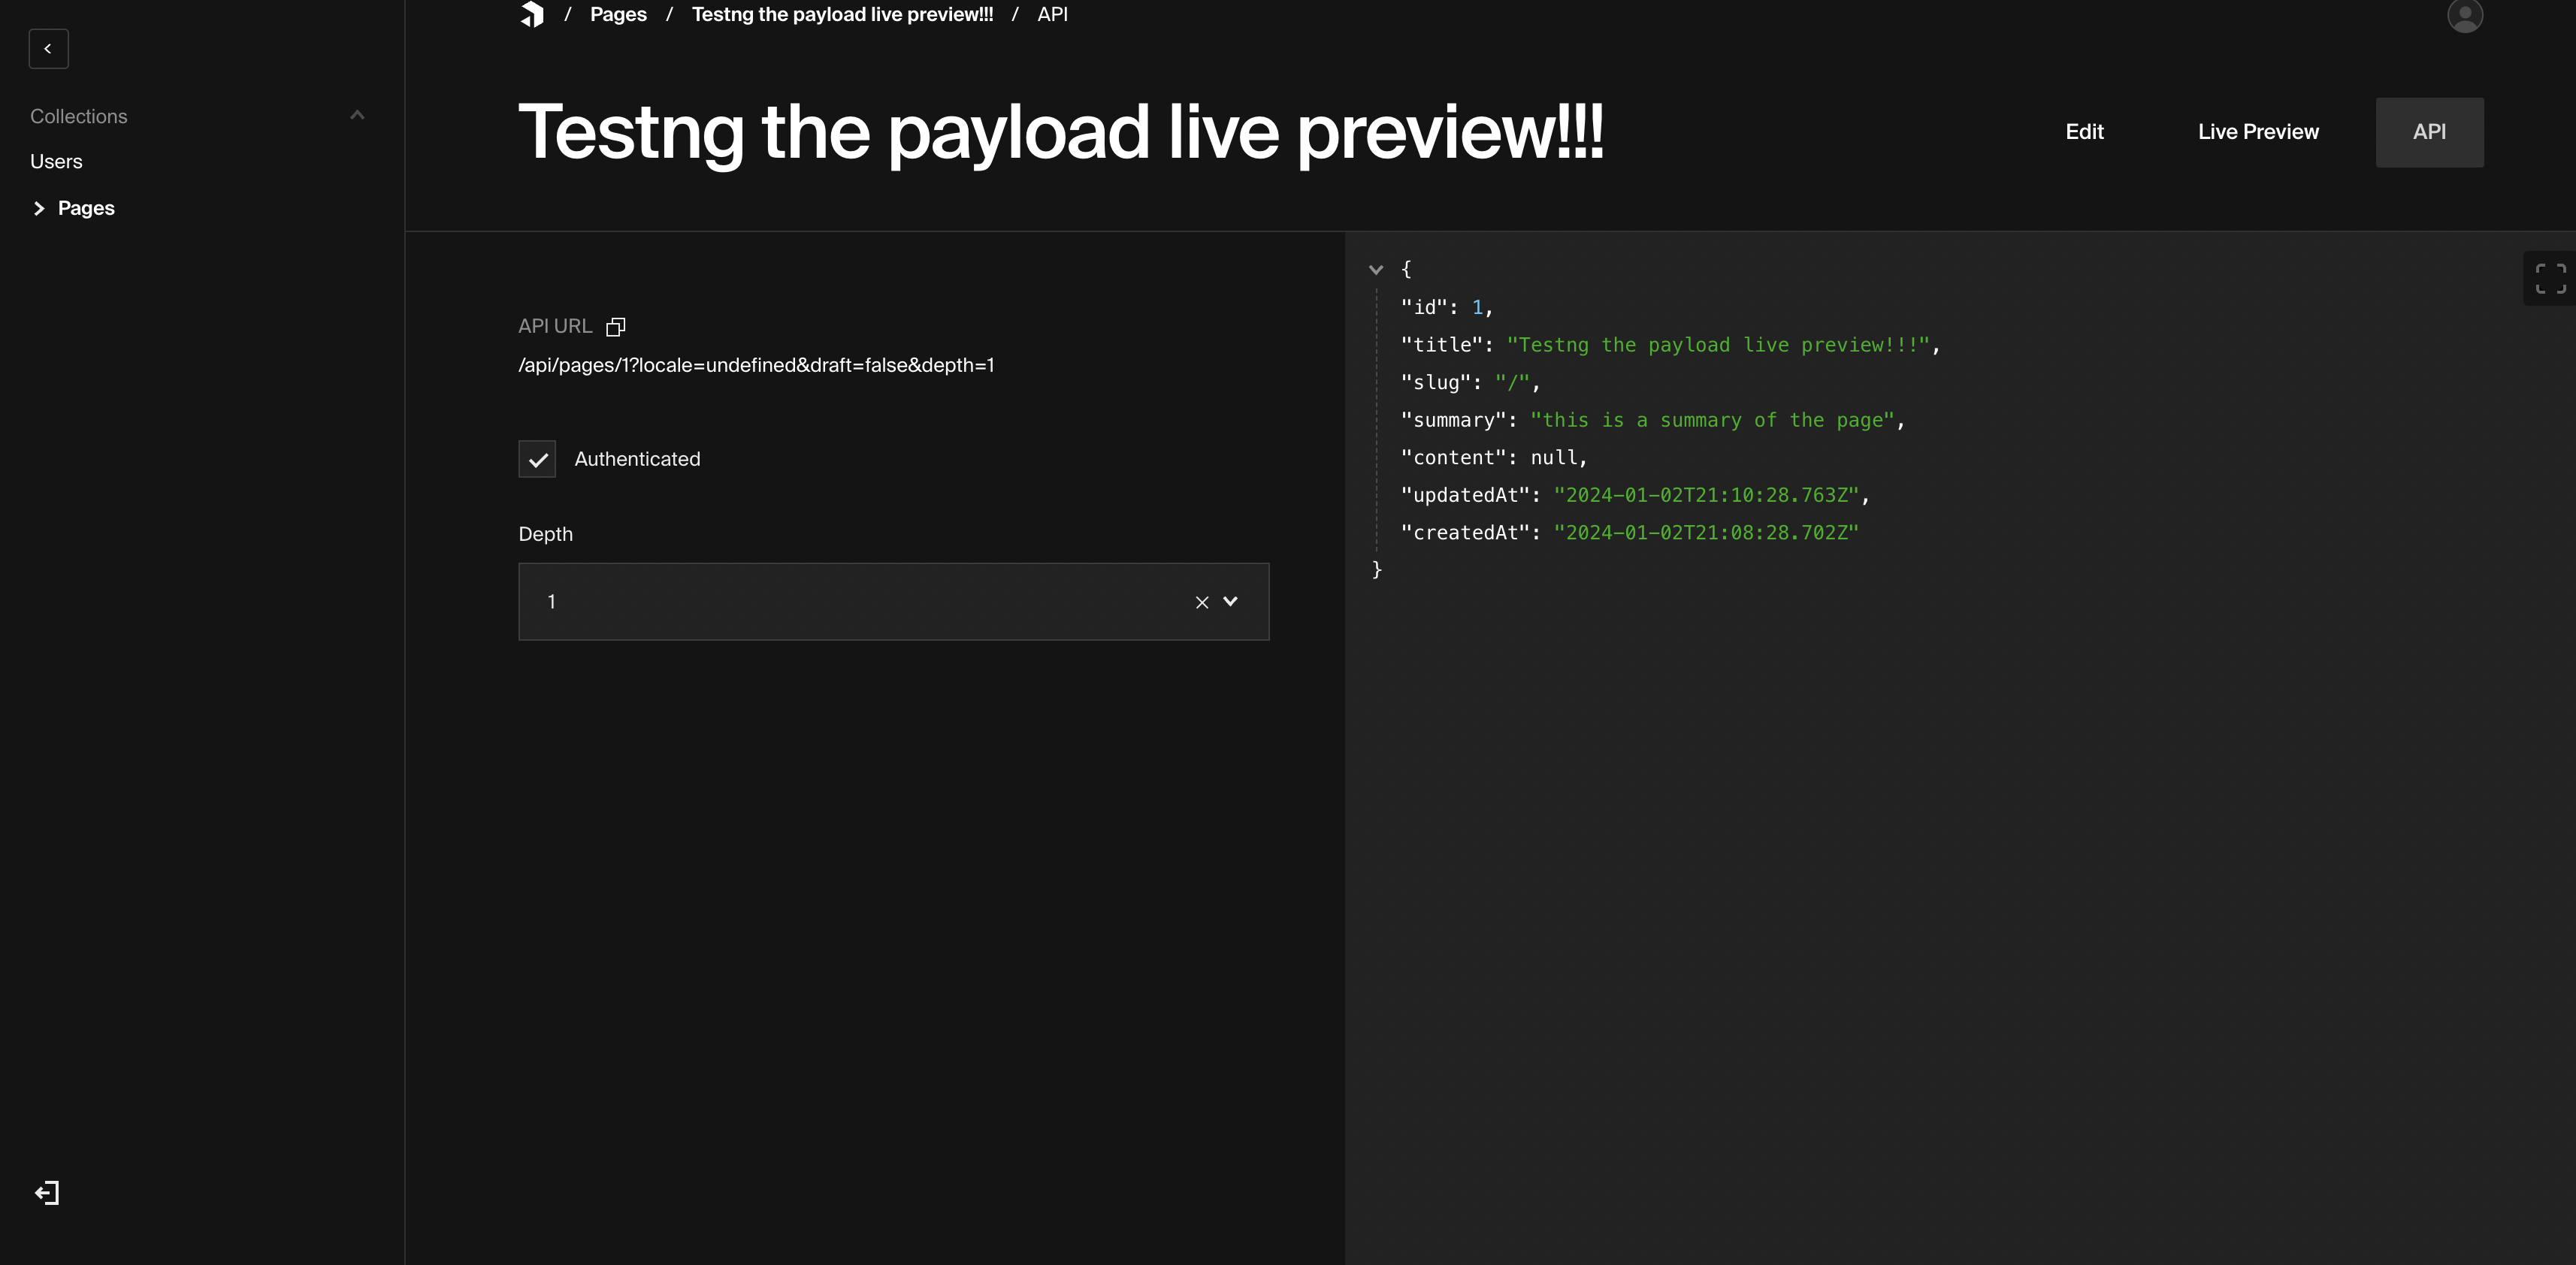
By default you will need to be authenticated to visit this end point, so if you tried to call this from your web application it wouldn’t work. So let’s go back and allow that. Back in your Pages collection all you need to do is add this to our Pages collection.
 access: {
    read: () => true,
  },
Your Collection should look something like this.
import { CollectionConfig } from "payload/types";

const Pages: CollectionConfig = {
  slug: "pages",
  access: {
    read: () => true,
  },
  admin: {
    useAsTitle: "title",
  },
  fields: [
    {
      name: "title",
      type: "text",
      required: true,
    },
    {
      name: "slug",
      type: "text",
      required: true,
      unique: true,
    },
    {
      name: "summary",
      type: "textarea",
      required: true,
    },
    {
      name: "content",
      type: "richText",
    },
  ],
};

export default Pages;
and hit save, now you should be able to read this endpoint publicly.
Integrating this into your front end is as simple as making a fetch request to this endpoint to get a list of all your pages. I plan on writing a second part to this, as Payload offers a cool live preview & editing feature (which is currently in beta). I also created a template that you can use, if you want to pull down a working version of the code. You can also deploy it easily to Railway from this repo to.